You can create many different user profiles with varying levels of access to your site.
There are two main aspects to creating and managing users and their roles:
- Creating a user
- Editing user roles
- Managing Two-Factor Authentication
Creating a user is a fairly simple process. Clicking create a user under Users in the Admin Area allows you to input the following information (an asterisk indicates a required field):
- Username*
- Email*
- Password*
- User role(s)*
- First Name*
- Last Name*
- Address
Having entered these fields for a user, they now have access to the site. They will not, however, be automatically aware that they have access to the site. This must be done manually.
If your site has an e-commerce aspect/portal for users to sign-up and login, they will also be counted as users and this same data will be gathered from them.
As outlined above, every user that you create must be assigned a particular role. By default there are 4 roles available:
- Super User: Same as the content administrator role, but with the addition of having access to edit <head> content, manage site settings, and view change history (logs) pages.
- Content administrator: Able to edit and publish content on any page. Also has access to most admin pages.
- Content editor: Able to edit content on any page, but cannot publish these changes.
- User: Cannot edit or publish any content, but is able to see pages which are otherwise hidden from general viewers.
User roles are intrinsically linked to page categories. When creating a new user role, you are merely creating a new, named “tag”. Having done this, you can use page categories to restrict access to particular users who have the correct “tag”.
As an example, if you wanted a team within your organisation to have access to subpages related to their field, but no other pages on the site. You might do the following.
- Create a user role, perhaps call it “Team X user”.
- Create 2 page categories:
- “For Team X users”: Allow any user with the “Team X user” user role to edit and publish content.
- “Not for Team X users”: Do not allow any user with the “Team X user” user role to edit and publish content.
- Assign these page categories to the relevant pages.
While an unlikely scenario for most clients, user roles and page categories are used in tandem to restrict or grant access to different classes of users. For most clients, the standard user roles are sufficient.
Two-Factor Authentication (2fa) adds an extra layer of security to your account by requiring a second form of verification in addition to your password.
2FA needs to be set up by each user as they are required to install an app on their phone to complete the setup.
A 'Super User' admin can enforce 2fa per user (Edit user) or sitewide (Site settings), which will take users to a 2fa setup page each time they log in. This will NOT force them to set up 2fa, but it will remind them each time that it needs to be done.
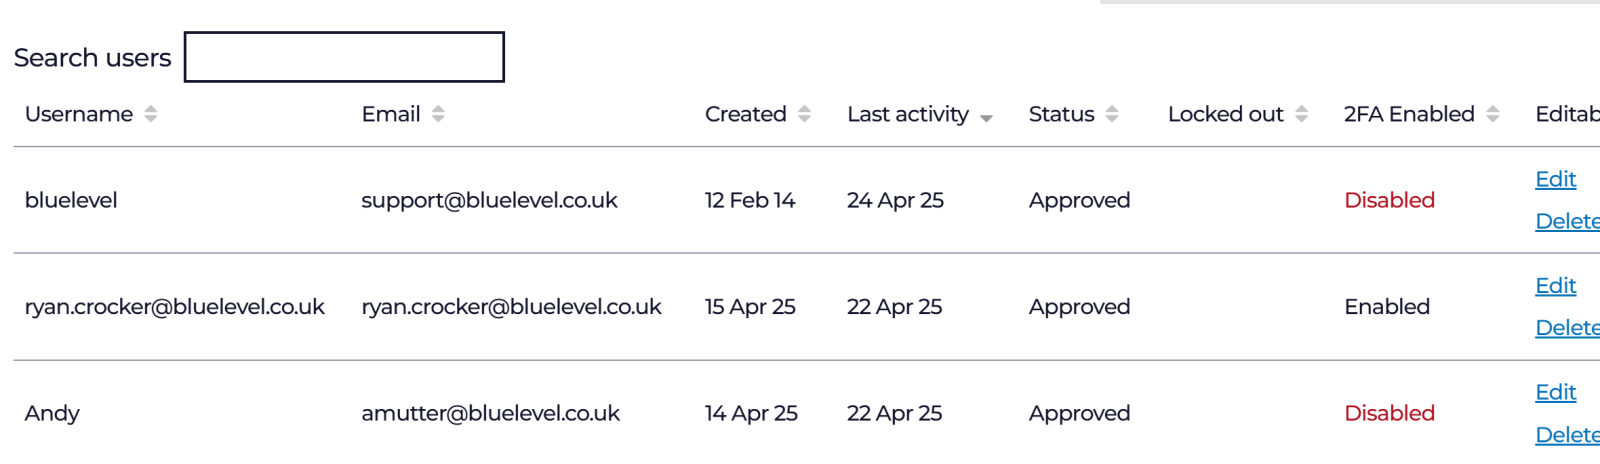
Admins can see who has 2fa enabled by going to Manage Users.